Creating an Element
In order to create a new element, you need to right-click on an existing element. This will give options for uplinked or downlinked artefacts, depending on the allowable connections that can be made from the specific element. Typically, you will almost always create downlinked artefacts, as you are building out a “tree” style argument hierarchy.
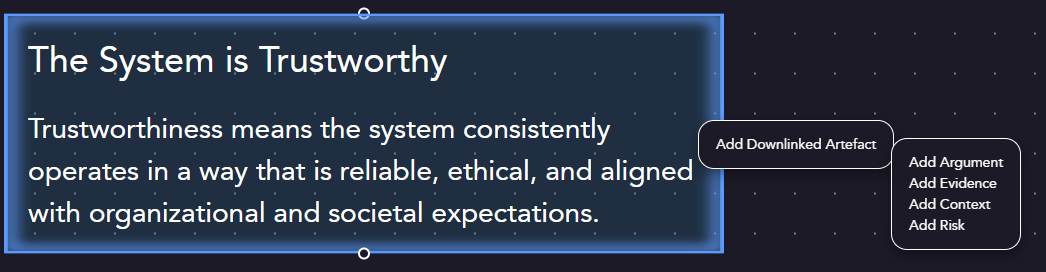
Newly created elements will be marked with a red banner with exclamation, indicating that mandatory fields need to be filled in. The model can’t be saved until these mandatory fields are filled out.

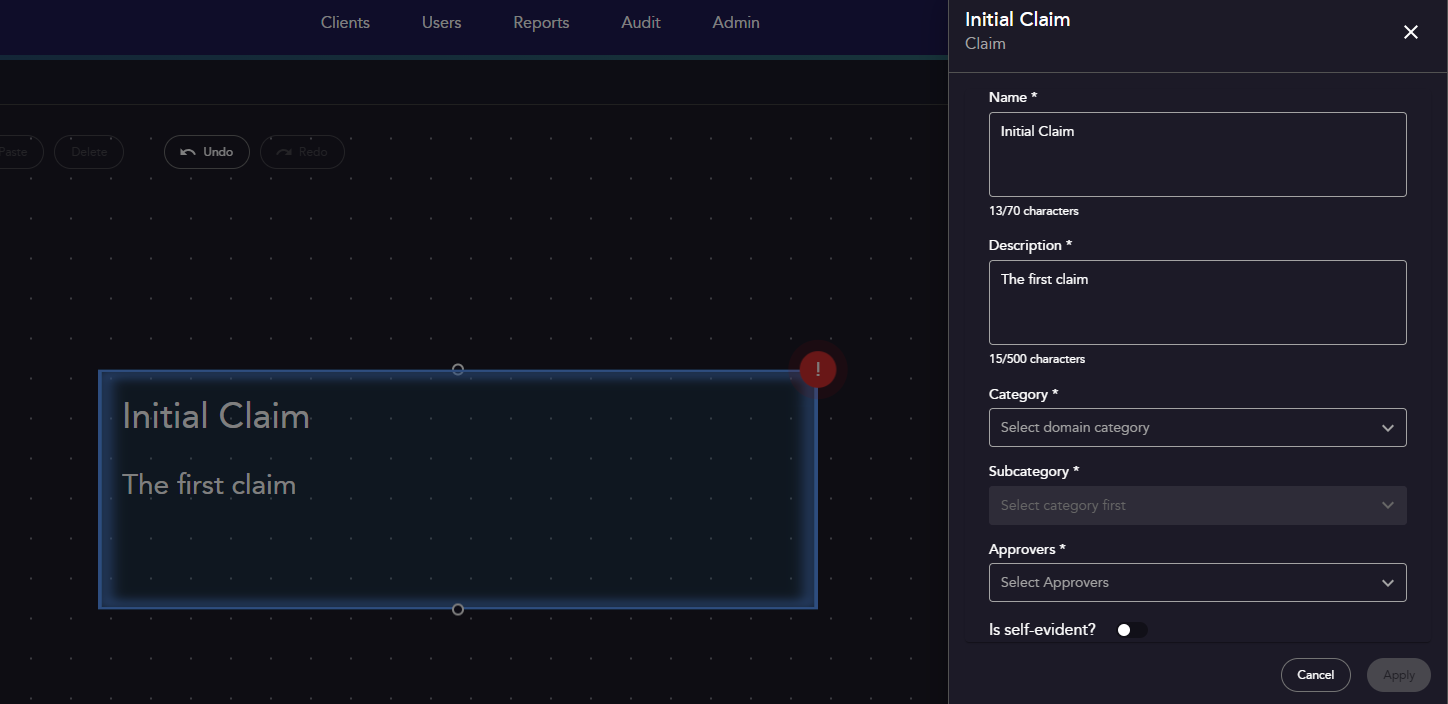
Editing an Element
When you directly click on the middle of an element, you’ll see a side bar appear. This allows you to populate the element’s attributes, including names, descriptions, or other specific attributes for that element type.
You can view the required element attributes and options here:
Element Attribute Specification
Navigating the Interface and Layout
The modelling canvas screen can be viewed below. The table below provides description for the labels/annotations on this screen. 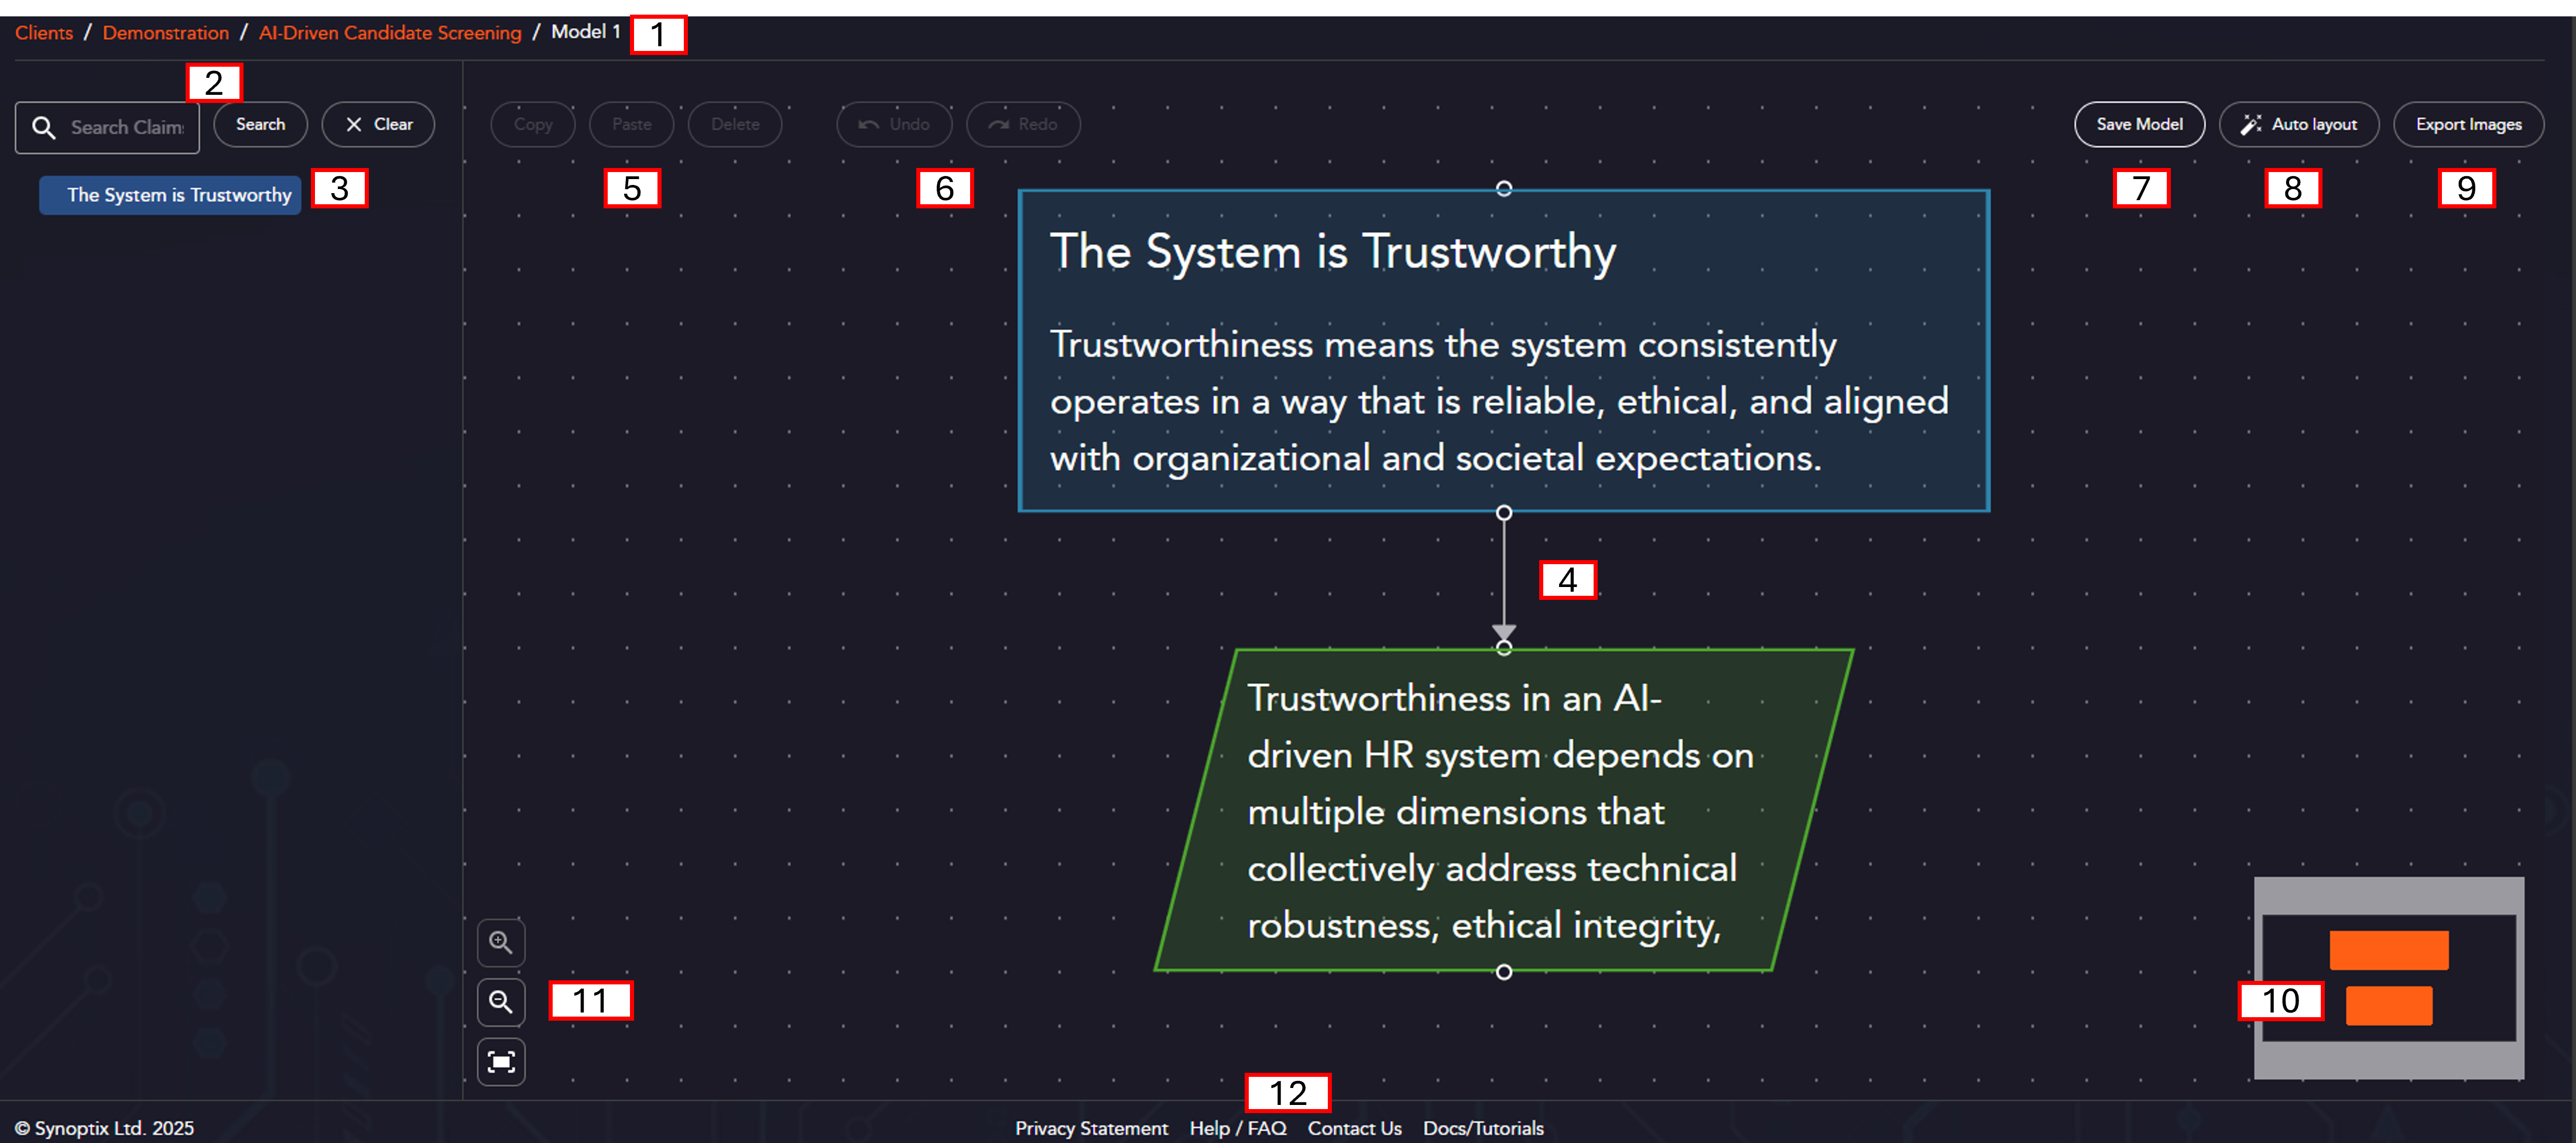
| Label | Description |
|---|---|
| 1 | A “breadcrumb” trail for the Client, System, Project, and Model. |
| 2 | Features to search the project browser for different claims. |
| 3 | The Project Browser. Only Claims will be visible in this browser. Clicking on a claim will load it into the main canvas. |
| 4 | The main model browser canvas - contains the visible elements for the selected claim. |
| 5 | Copy, Paste, and Delete Claims for selected artefacts or groups of artefacts. |
| 6 | Undo and Redo controls for the current open model. |
| 7 | Save Button for the current open model. Will highlight orange where there are changes to save. |
| 8 | Auto layout feature, that formats the current page to align artefacts into a neat arrangement. |
| 9 | Export images creates a downloadable set of .png images for each “screen” in the model (each claim structure). Will run in the background and send a notification when ready to download. Creates pictures of the layout “as is” - so it is suggested to run auto-layout on each screen before exporting. |
| 10 | A “minimap” style description of the current screen. |
| 11 | Controls to zoom and control size of the modelling canvas. Auto-zoom feature to zoom to fill all objects on the screen. |
| 12 | Useful links to privacy statement, contact details, FAQ, and this documentation set. |
Proceed to understand the core concepts of an assurance case model